CAN YOU PAINT BEHIND A RADIATOR WITHOUT REMOVING IT?
Are you looking to tackle that tricky spot behind the radiator without all the fuss of plumbing? It’s a common dilemma for anyone sprucing up a room. The good news is that, for most standard setups, you absolutely can paint behind a radiator without taking it off the wall. It just takes a bit of know-how and the right tools.
Trying to remove a radiator can be a real headache. You would need to drain the whole heating system, wrestle with pipes, and maybe even call a plumber. This means extra mess, extra time, and extra money. Nobody needs that stress when you’re just trying to get a fresh coat of paint on the wall.
Getting a truly flawless, every-single-millimetre-
Below, painting and decorating expert Pat Gilham at MyJobQuote.co.uk goes over everything you need to know about painting behind a radiator to ensure you get a neat and professional result without the plumbing drama.
Why Paint Behind the Radiator?
You may wonder if it is even worth the effort to paint a spot that is mostly hidden. The truth is, leaving the area behind a radiator unpainted, especially if you are changing the wall colour, can really detract from the overall finish of the room. It creates a noticeable patch of old colour, making the whole job look unfinished. Even if it is not immediately obvious, the little unpainted section can bother you every time you see it. A complete paint job ensures a seamless and professional look that will truly transform your space.
How to Paint Behind a Radiator Without Removing It
It’s not always necessary to remove a radiator in order to paint behind it. With proper preparation, you can successfully decorate behind your radiator while it is still in situ.
- Cover the edges and valves of the radiator with painter’s masking tape. Or you can remove the valve covers to give you more access behind the radiator.
- Don’t forget to cover your skirting boards with masking tape as well.
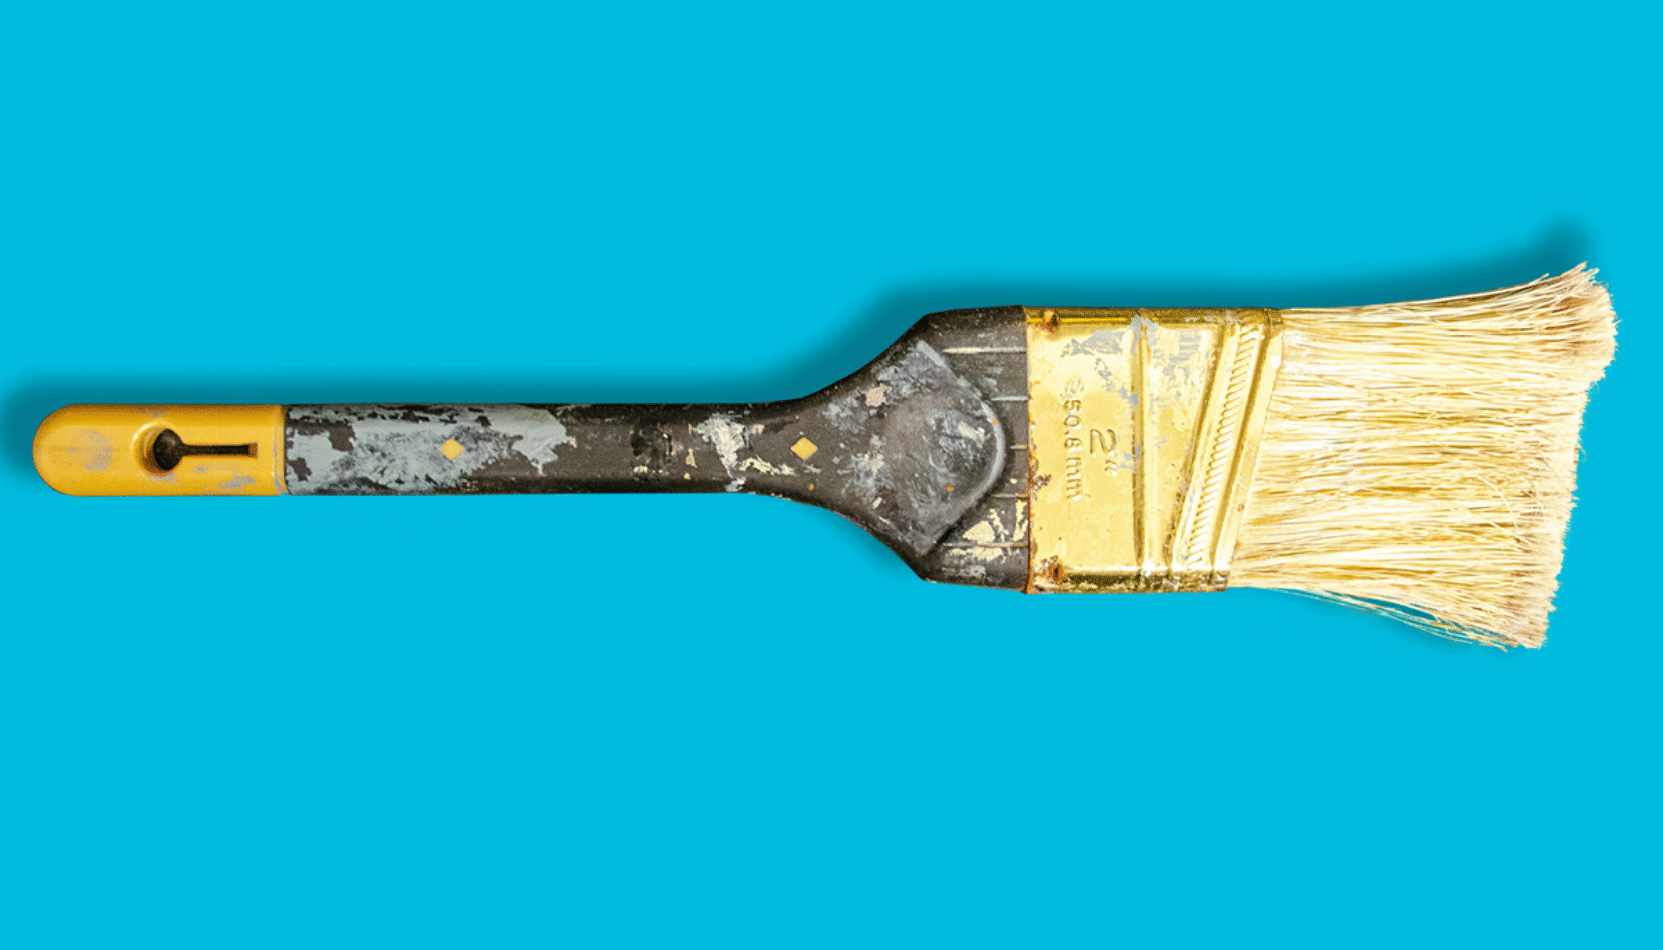
- Paint the area of the wall closest to the radiator edges with a cutting-in brush for a neater finish. This brush has angled bristles to give you more control.
- For behind the radiator, use a long-handled mini roller, specifically designed for this job. Alternatively, use a long-handled, angled paintbrush.
- The small area of wall between the bottom of the radiator and the top of the skirting board can be painted with a sash brush or a fitch brush.
- You can also touch up any areas of the wall that you couldn’t reach with the roller or angled brush with a small sash brush or a fitch brush.
- If the radiator is beneath a window, use a cutting-in brush for the area between the top of the radiator and the windowsill.
- Remove the masking tape while the paint is still slightly wet to avoid pulling off any dried paint.
The Best Tools for Painting Behind a Radiator
One of the most effective tools for painting behind a radiator is a long-handled mini roller, also called a radiator roller. The long handle allows you to reach the whole wall behind the radiator, and the mini roller head gives you a lot of control. It is a quick way of painting the wall without removing the radiator and gives a good finish. This is also faster than painting with an angled brush.
However, if you prefer to paint with a brush, an angled radiator brush is better than a standard paintbrush. The angled head is designed to make reaching the surface behind the radiator easier without getting paint on the radiator.
A sash brush or fitch brush is a small paint brush for detailing and is perfect for painting the areas that you can’t reach with the roller or angled brush.
How to Deal With Common Pitfalls
Even with the right tools and techniques, there are some problems that can come up. Take a look at the list below for some common pitfalls and how to best deal with them:
- Drips and Runs – This is potentially the most common problem that may come up in tight spaces. It usually means you have loaded too much paint onto your tool. If you spot a drip, quickly wipe it away with a clean, damp cloth or use a dry brush to smooth it out before it dries.
- Uneven Coverage – This can happen if you are rushing or not applying enough paint. Make sure to remain patient and apply thin, even coats. Allow each coat to dry fully before moving on to the next one.
- Missing Spots – it’s easy to miss small areas. Use a bright light and check from different angles once the paint is dry. A small fitch brush is perfect for touching up any tiny missed areas.
When to Consider Removing the Radiator
Painting behind a radiator without removing it is usually perfectly doable. However, there are a few scenarios where you may need to remove it. Below is a list of examples of when this may be the case:
Major Wall Repairs
Suppose the wall behind the radiator is in bad shape, such as crumbling plaster, significant damp issues, or if large holes are present that need patching, it’s usually better to remove the radiator. This gives you full, unobstructed access to properly prepare and repair the surface.
Radiator Replacement or Major Maintenance
If your radiator is old, inefficient, constantly causing problems, or if you’re planning to replace the radiator soon anyway, then it makes perfect sense to remove it before completing the painting job.
Perfecting the Job
If you are aiming for an absolutely flawless finish where every single millimetre of the wall is pristine, then removing the radiator is the best option. This ensures there are no missed spots or subtle unevenness.
Extremely Tight Gaps
In some older homes or with certain radiator designs, the gap between the radiator and the wall can be incredibly narrow. If you genuinely can’t fit even the smallest specialised tools in there, then removal may be your only practical option.
Pros and Cons of Painting Without Removal
Let’s quickly look at the upsides and downsides of painting behind a radiator without removal:
PROS
- Saves Time – You won’t need to drain the system or wait for plumbers.
- Less Hassle – You can avoid water, mess, and the complexity of plumbing work.
- Cost-Effective – You won’t need to pay a plumber.
- DIY Friendly – The task is accessible even for those without advanced DIY skills.
- No New Leaks – You avoid the risk of creating new leaks by disturbing old pipework.
CONS
- Less Than Perfect Finish – The result will be good, but it won’t be absolutely flawless, as you won’t be able to access the full wall.
- Potential for Missed Spots – Despite your best efforts, tiny areas may be missed, especially in very tight spaces.
- Awkwardness – Working in confined spaces can be physically uncomfortable and requires patience.
- Limited Future Access – The area behind the radiator may remain difficult to clean thoroughly in the future.
Final Thoughts
So, can you paint behind a radiator without removing it? Absolutely, you can! For most situations, it is a perfectly achievable task that saves you a lot of time, effort, and money. When you equip yourself with the right specialised tools, dedicate time to prepare, and use careful, patient painting techniques, you can achieve a clean, consistent, and professional-looking finish. This ensures that even the often overlooked spaces behind your radiators seamlessly blend with the rest of your beautifully redecorated room. Don’t let the radiator intimidate you – arm yourself with the helpful tips given in this article, and you can confidently tackle your next big painting project!
MORE ABOUT THE AUTHOR… PAT GILHAM: Pat Gilham has worked as a self-employed painter and decorator for over 20 years and specialises in domestic home decorating projects. He has also worked closely with MyJobQuote over the past 4 years to provide expert commentary and insights, and has been published in a range of leading industry publications and news outlets.


