PREPPING YOUR DECK OR PATIO FOR WINTER
As the days get shorter and the temperatures drop, it’s time to start thinking about preparing your outdoor spaces for the colder months. A little bit of work now can protect your deck or patio from winter damage, saving you time and money on repairs in the spring.
This guide by property expert Gregory Smith at PriceYourJob.co.uk will walk you through the essential steps for prepping your deck, from cleaning and treating the surface to protecting it from the elements. Following these simple steps will ensure your deck stays in great shape year after year.
The main thing you will need to do to prepare your decking and patio for winter is to clean them. You can find the best cleaning methods for each below. This will ensure they are ready to take on the harsh winter weather and also ensures that they will remain in the best possible condition ready for spring. For decking, it is also best to apply a decking stain or oil. This helps to prevent the decking from drying out and gives it that extra layer of protection from the elements.
How to Wash Your Garden Decking
Take the following steps to wash your garden decking:
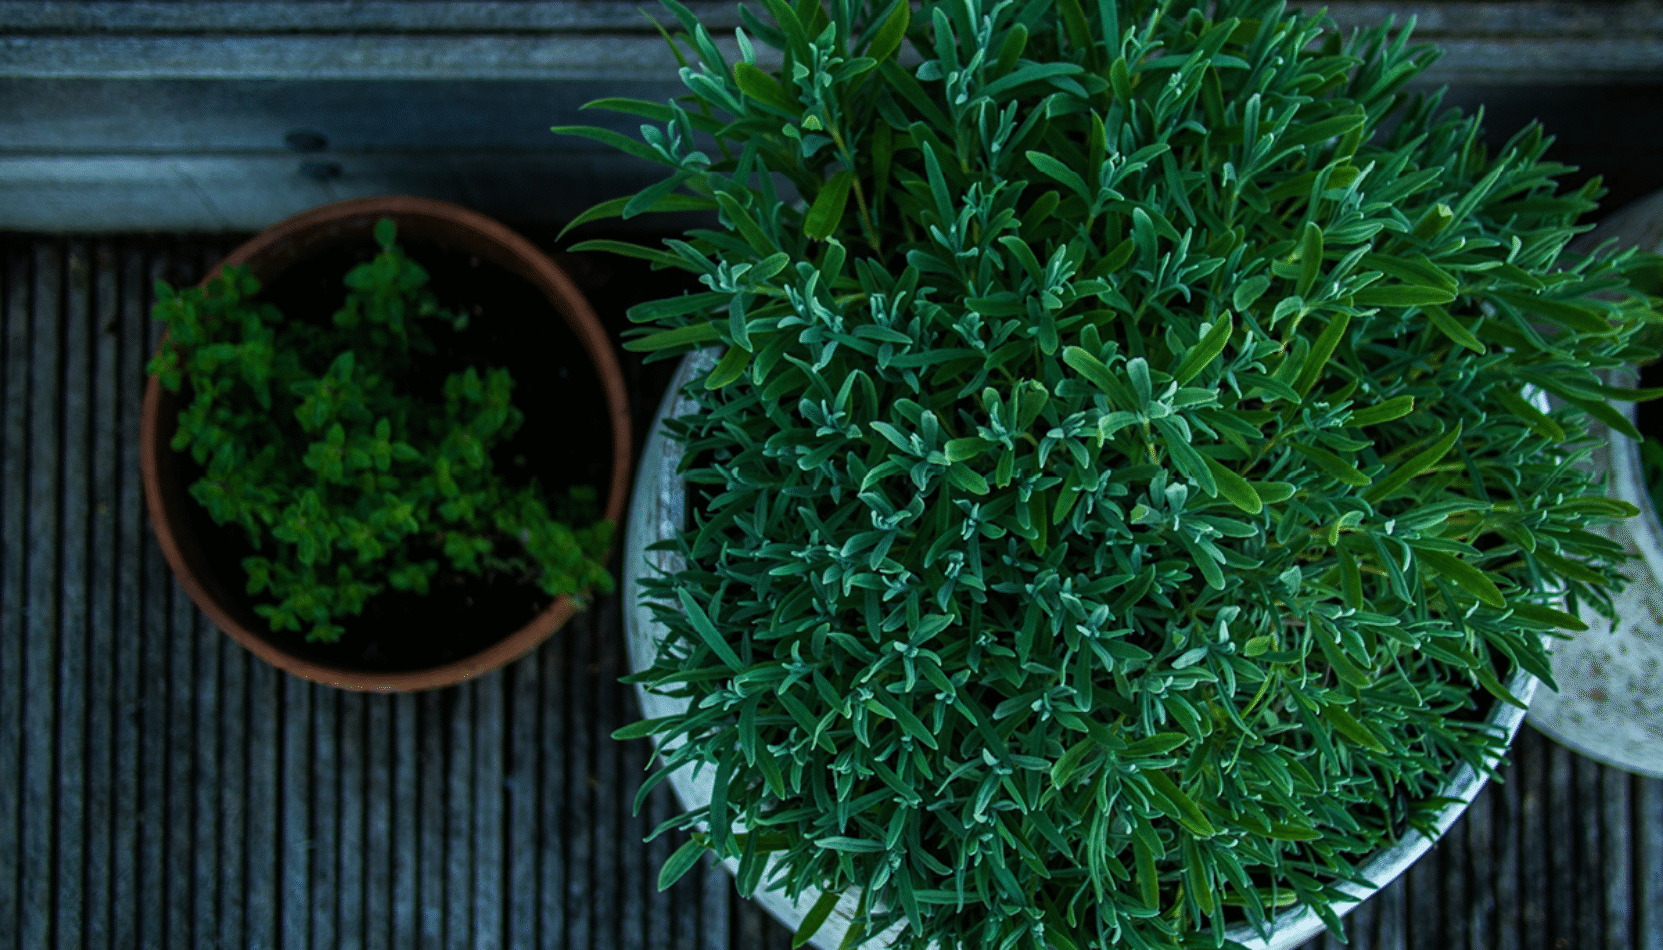
- Begin by clearing everything from the surface of your decking. Remove all of the things that may get in the way, including plants and garden furniture.
- Get a broom and sweep the entire area. Brush away all of the leaves and debris. Pay particular attention to smaller nooks and crannies where debris may collect.
- Use your garden hose to loosen and rinse all of the dirt and grime away. Aim the hose directly at any heavily soiled areas to remove as much of the stain as possible.
- Spray in between all of the decking boards to rinse away any remaining leaves, twigs, grass, or other debris.
- Create a gentle cleaning solution to prevent damaging the deck. Mix warm water with some liquid dish soap. Then, saturate the surface of the deck and scrub with a sponge or stiff-bristle brush until the cleaning solution begins to lather. Allow the solution to stand for around 5 – 10 minutes.
- Then, go ahead and use your hose once again to rinse away all of the cleaning solution.
- Allow the deck to dry.
How to Get Rid of Mould and Algae
If you have mould and algae on your decking, the best way to clean it is with a concentrated disinfectant. You can get special disinfectants for decking, which help to remove stubborn stains and protect your decking against algae and mould growth.
Simply spray the disinfectant on the affected areas and allow it to dry.
How to Pressure Wash a Deck
Follow the steps below to correctly pressure wash your deck:
- Choose the right setting and spray tip. Use the lowest setting possible that works. The pressure level for soft woods, such as cedar or pine, should be roughly 500 – 600 psi. Harder woods may be able to tolerate slightly higher pressures. However, you should never let it go over 1200 psi when using it on decking. Use a 40 – 50 degree fan spread where possible. You can also use a rotating tip if you’re careful.
- Test the pressure in an inconspicuous area before you start cleaning the whole deck. Begin with a 500 – 600 psi pressure and then gradually increase it until you find the right setting for your deck, which allows you to clean the deck properly.
- Now, you can proceed with power washing the deck. Hold the wand steady a few feet away from the surface of the deck and then engage the trigger. Slowly lower the wand closer to the deck. You need to make sure to avoid getting any closer than six inches away from the surface, as this may cause some damage to the wood. Clean in a sweeping motion and try your best to maintain a consistent distance. Feather the spray of water lengthwise, parallel with the decking boards, to work with the grain. Make sure to overlap each area slightly to maintain an even clean.
Tips for Applying Decking Stain or Oil
- Be sure to do a patch test and allow the stain or oil to dry completely before you start on the full project. Doing this will allow you to see exactly how the product will look on your decking boards when it is dry and how it reacts with the material.
- Stir the contents of the oil or stain tin thoroughly. You should do this for at least a few minutes before the application. This will help to ensure that the important ingredients and colour pigments are distributed evenly rather than all being concentrated at the bottom of the tin.
- You should only apply the stain or oil on a day when the weather is dry and avoid applying it during the cold winter months. If the weather is damp or too cold, then this could have a negative effect on the application and could affect the final appearance of the product.
- Keep a lookout for special offers and end-of-season sales. Decking stains and oils can be purchased for a discount, usually towards the end of summer. This will allow you to stock up for the following year and save some money.
How to Clean Your Patio Pavers With a Pressure Washer
Pressure washing is the simplest and most effective way for you to clean your patio pavers. Below is a list of all of the steps you will need to take if you clean your patio slabs using a pressure washer:
Remove all the Debris
Begin by removing all debris from the area. Use a stiff brush to sweep away all of the loose dirt, leaves and twigs from the patio area.
Connect Your Pressure Washer
Next, you will need to connect up your pressure washer with your water supply. Pressure washing machines uses a lot of water at high pressures, so you will need a constant supply of waterin order to get the job done well.
Add Your Detergent
If you are using some detergent with the pressure washer, add this in now. Many pressure washers will allow you to add the detergent so that it sprays out with the water. Alternatively, you can spray some of your detergent directly onto the patio and then leave it for around ten minutes before beginning the pressure wash.
Switch the Setting to Medium Pressure
Change the settings on the pressure washer to a medium setting. This is the best setting to use when cleaning a patio as it is enough pressure to remove all of the grime and dirt, but it is not too much pressure that it might damage the patio.
Complete the Pressure Wash
Sweep over your patio space with the pressure washer from front to the back and from left to the right. That way, you will definitely cover every single inch of the pavers consistently. Make sure the pressure washer is set to a wide fan setting and use a spraying angle of 45 degrees. This will ensure the most effective cleaning.
Allow Time to Dry
You will need to give your patio some time to dry. Once it is completely dry, you will be able to see your now beautiflly clean patio.
Cleaning a Patio Without a Pressure Washer
If you don’t have a pressure washer, do not worry. You can still achieve a good patio clean without a pressure washer. Here is a guide on how to clean your patio with just soap and water:
Remove All Weeds
Start by examining your patio and removing any visible weeds that may be poking through the cracks. The method for this will depend on how bad the problem is. If it is possible to pull up the weeds by hand, this is the best bet. Try to remove as much of the root as you can to help minimise the chances of it growing back.
If you have an extreme weed problem and it’s too much to pull up by hand, then you should use a weed killer. When you are using weed killer, make sure you follow the manufacturer’s instructions and keep any children or pets away from the area.
Create a Soap Mix
You don’t need any special products to create a soapy cleaning solution. A mild soap mixed together with some warm water will work just fine but make sure to check the soap that you are using, as some cleaning products might cause damage to patio. Mix your soapy solution until it foams on the top.
Pour the Mixture
Next, pour some of the soapy mix onto the surface of your patio. If you’re cleaning a fairly large area, you may need to do this part in stages. Before you start cleaning, make sure you test the mixture on a small inconspicuous area so that you know it won’t cause any damage to your patio.
Next, put on someprotective gloves to protect your hands and start scrubbing. Scrub the entire surface area of the patio until the entire thing has been scrubbed. Then, rinse away any soapy residue with some clean water. You may need to use a hose for this, or you can use some buckets of water.
Brush The Space
After the scrubbing stage, brush over the area. Grab a hard-bristled brush and start brushing from one side of the patio to the other side. It’s best to use a long-handled brush when doing this to avoid damaging your back.
The bristles of the brush should loosen the dirt with ease. Keep brushing until all the dirt has been loosened. You might have to put a bit of extra effort in on stubborn dirt areas. You should aim to brush your patio regularly to keep dirt and grime away and to help also keep weeds away.
Rinse The Patio
After you’ve gone over the entire patio with the stiff brush and loosened all of the stubborn dirt, you’ll then need to rinse the patio again to reveal the final look. Use a hose or buckets of water and rinse the entire area until no dirt remains.
Allow Adequate Drying Time
After rinsing, you’ll need to leave the patio to dry before you can see the final results. Once it is completely dry, you will be able to see just how much of a difference your cleaning efforts have made to the appearance of the space.
Final Thoughts
Prepping your deck or patio for winter doesn’t have to be a major chore. By taking the time to clean, treat, and protect the surface now, you’re making a smart investment in the longevity and appearance of your outdoor space. A well-maintained deck not only looks better but is also safer and more enjoyable to use when the weather warms up again. Now that you know how to properly prepare your deck, you can rest easy knowing it’s ready to withstand whatever the winter brings.
MORE ABOUT THE AUTHOR… GREGORY SMITH: “Gregory Smith has worked in the property and construction industry for over 20 years. He currently continues to work on domestic building projects while also providing expert comments in the property and construction field for PriceYourJob. He has worked with PriceYourJob for the past 4 years and has been published in a range of reputable publications.”